Changing State—Melting
Lesson Summary Video for teachers
Note: This video is designed to help the teacher better understand the lesson and is NOT intended to be shown to students. It includes observations and conclusions that students are meant to make on their own.
Key Concepts
- Melting is a process that causes a substance to change from a solid to a liquid.
- Melting occurs when the molecules of a solid speed up enough that the motion overcomes the attractions so that the molecules can move past each other as a liquid.
Summary
Students will see a small piece of ice melt on an aluminum surface. Based on what they have covered in Chapters 1 and 2, students will explain the energy transfer and molecular motion which cause the change in state from a solid to a liquid. Students will see and discuss an animation of ice melting and compare the state changes of water to the state changes of other substances. They will also investigate sublimation of dry ice through a teacher demonstration, or video if dry ice is not readily available.
Objective
Students will be able to explain on the molecular level the process of heat transfer and molecular motion that causes a solid to melt to form a liquid. Students will also be able to explain how the arrangement of water molecules is different from most other substances when it changes state from a solid to a liquid.

Safety
Be sure you and the students wear properly fitting goggles.
Materials for Each Group
- 2 small pieces of ice
- 2 small clear plastic cups
- Water
Materials for the Demonstration
- Ice
- Dry ice
- Brown paper towel
- Cold water
- Hot water
Download All Lesson 2.5 Resources
Get the entire lesson plan and Student Activity Sheet for "Lesson 2.5 - Changing State—Melting."
Online Assignments
Supplement in-class learning with interactive, multimedia-rich Google Forms lesson modules, perfect for reinforcing key chemistry concepts and scientific investigation skills.
Instructions
1 Engage
Step 1
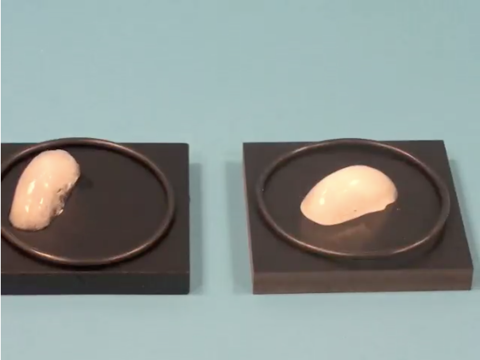
Have students watch a small piece of ice melting.
Show students the video Ice Melting on Different Surfaces.
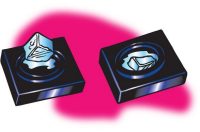
In this video, ice is placed on two similar-looking black surfaces—one aluminum and the other plastic. The ice melts faster on the aluminum because it is a better thermal conductor than the plastic.
Step 2
Discuss student observations.
Ask students:
- Where do you think the energy came from to melt the ice?
The energy comes from the air and from the surface that the ice is placed on, both of which are at room temperature. Since room temperature is warmer than the temperature of the ice, energy is transferred from the surface and the air to the ice. - What do you think happened to the speed of the molecules in the ice when it was heated?
The water molecules moved faster.
2 Evaluate
Give each student an activity sheet.
Download the student activity sheet, and distribute one per student.
- Lesson 2.5 Student Activity Sheet PDF | DOCX | Google Doc
- Lesson 2.5 Student Activity Sheet Answers PDF | DOCX | Google Doc
The activity sheet will serve as the “Evaluate” component of each 5-E lesson plan. The activity sheets are formative assessments of student progress and understanding. A more formal summative assessment is included at the end of each chapter.
Students will record their observations and answer questions about the activity on the activity sheet. The Explain It with Atoms & Molecules and Take It Further sections of the activity sheet will either be completed as a class, in groups, or individually depending on your instructions. Look at the teacher version of the activity sheet to find the questions and answers.
Give students time to answer the first two questions on the activity sheet.
3 Explore
Step 3
Have students explore how to make ice melt faster.
Introduce the question to investigate:
- How can you make the ice melt faster?
Help students plan and conduct their experiment by asking:
- How could you set up an experiment to test your method?
Students might suggest breathing on the ice, holding it in their hand, or placing the ice in room-temperature or warm water. Any of these methods are fine, but try to have students think about including a control as part of the experiment. In each case, they would need two similar size pieces of ice—one that they warm in some way and one that they don’t.
Here is one method students could try.
Question to investigate
Will placing ice in water make ice melt faster?
Materials
- 2 small pieces of ice
- 2 small clear plastic cups
- Water
Procedure
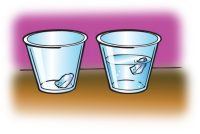
- Add room-temperature water to a cup until it is about ½-full.
- Place a small piece of ice in the water and another small piece of ice in a cup without water.
Expected results
The ice placed in the water will melt faster than the ice in air. Since the water and the air are both at room temperature, it may not be obvious why the ice melts faster in the water. There are so many more molecules in the water that can contact the ice that the transfer of heat to the ice is much more efficient and faster in the water than in the air.
Give students time to write their procedure and answer the question on the activity sheet.
4 Explain
Step 4
Show an animation of ice melting.
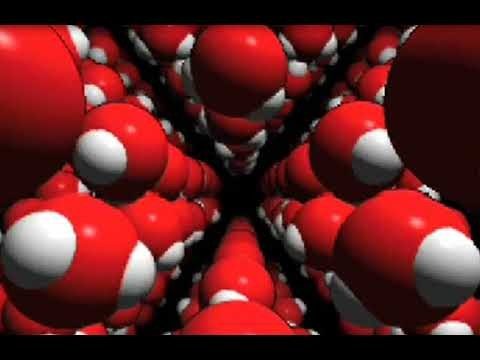
Show the animation Melting Ice.
Point out that the water molecules in ice vibrate but don’t move past each other. As the temperature increases they begin to vibrate more. Eventually their movement overcomes their attractions and they can no longer stay in their orderly crystal structure. As the ice melts, the orderly arrangement collapses and the water molecules move past each other and actually get closer together as liquid water.
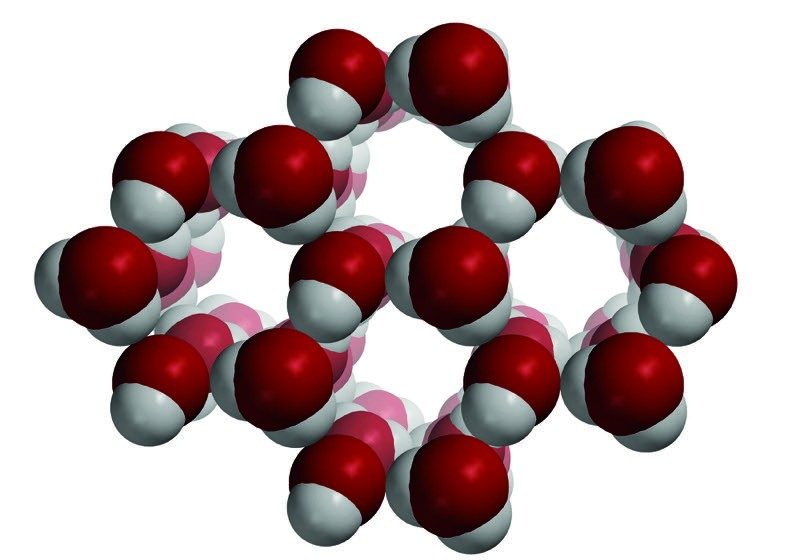
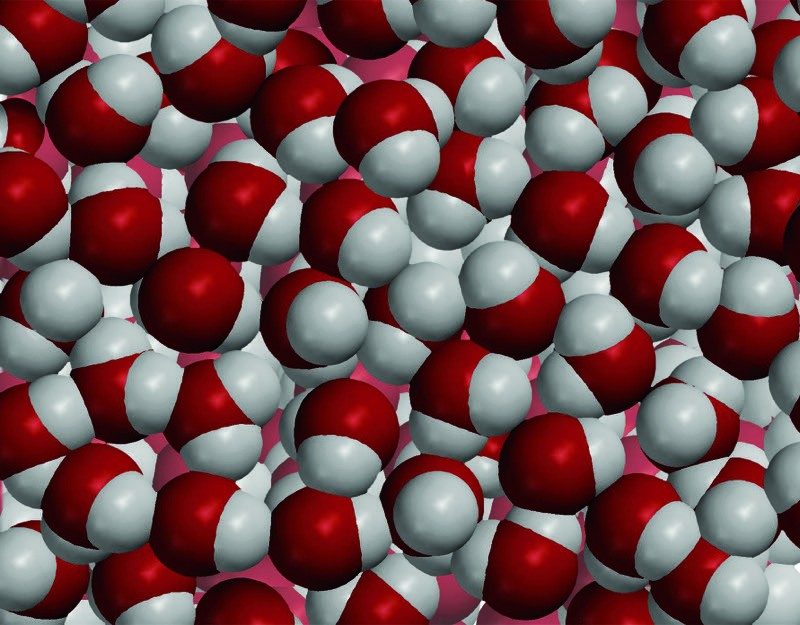
Project the image Ice and Water.
Ask students
- How did the motion and arrangement of the water molecules change as the ice melted?
As energy is transferred to the water molecules in the ice, the motion of the molecules increases. The motion of the molecules increases enough that it overcomes the attractions the water molecules have for each other causing the ice to melt.
Step 5
Compare the motion and arrangement of the molecules of a substance (not water) for each state of matter.
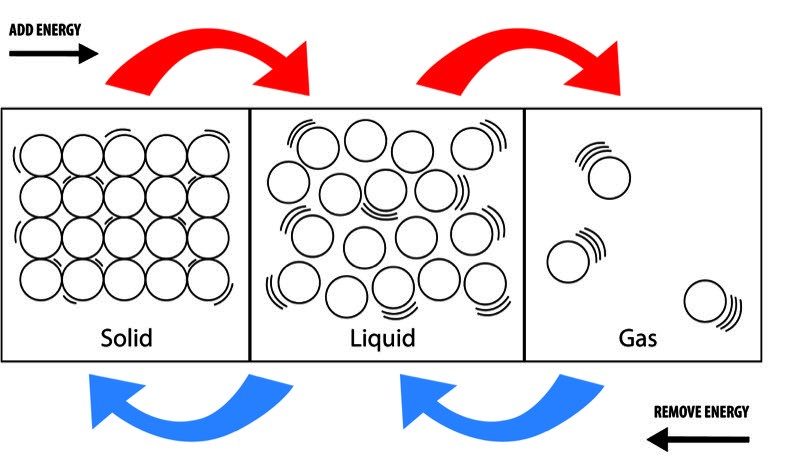
Project the image States of Matter.
Explain that the diagram illustrates the motion and arrangement of atoms or molecules in a single substance (not water) when it changes between a solid, liquid, and gas.
Step 6
Have students compare the state changes of most substances to the state changes of water.
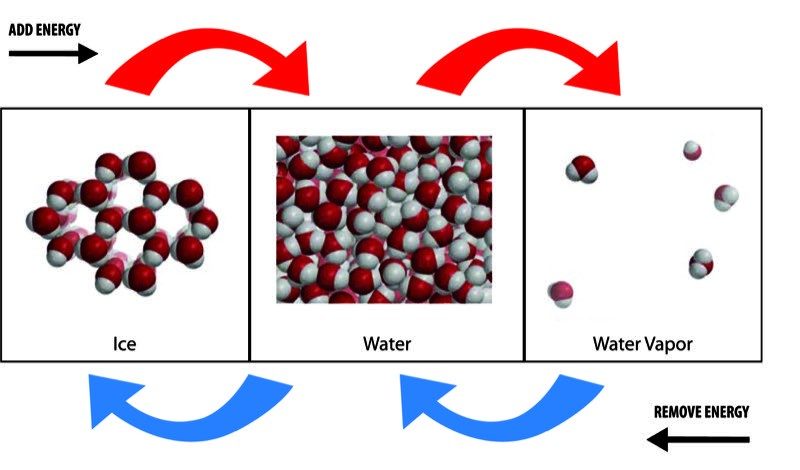
Project the image States of Water.
Tell students that the motion of water molecules in each state of matter is similar to what happens for most substances. Adding energy increases the motion of the molecules and causes them to move further apart. Removing energy decreases the motion of the molecules and causes them to move closer together. But water does something very unusual when it freezes to become ice. The molecules, which were moving closer and closer together, move further apart as they organize themselves into the open ring pattern shown below for ice. This is why ice expands when it freezes.
Ask students:
- How are the state changes of water similar to and different from the state changes in most other substances?
For water or any other substance, molecular motion increases when energy is added and decreases when energy is removed. The main difference between water and other substances is the arrangement between the molecules of the solid and the liquid. In water, the molecules in ice are further apart than they are in liquid water. This is unusual because the molecules of solids in most other substances are closer together than they are as a liquid.
Read more about energy and state changes in Teacher Background.
- Lesson 2.5 Teacher Background PDF
Step 7
Have groups use their water molecules to model freezing, melting, evaporation, and condensation.
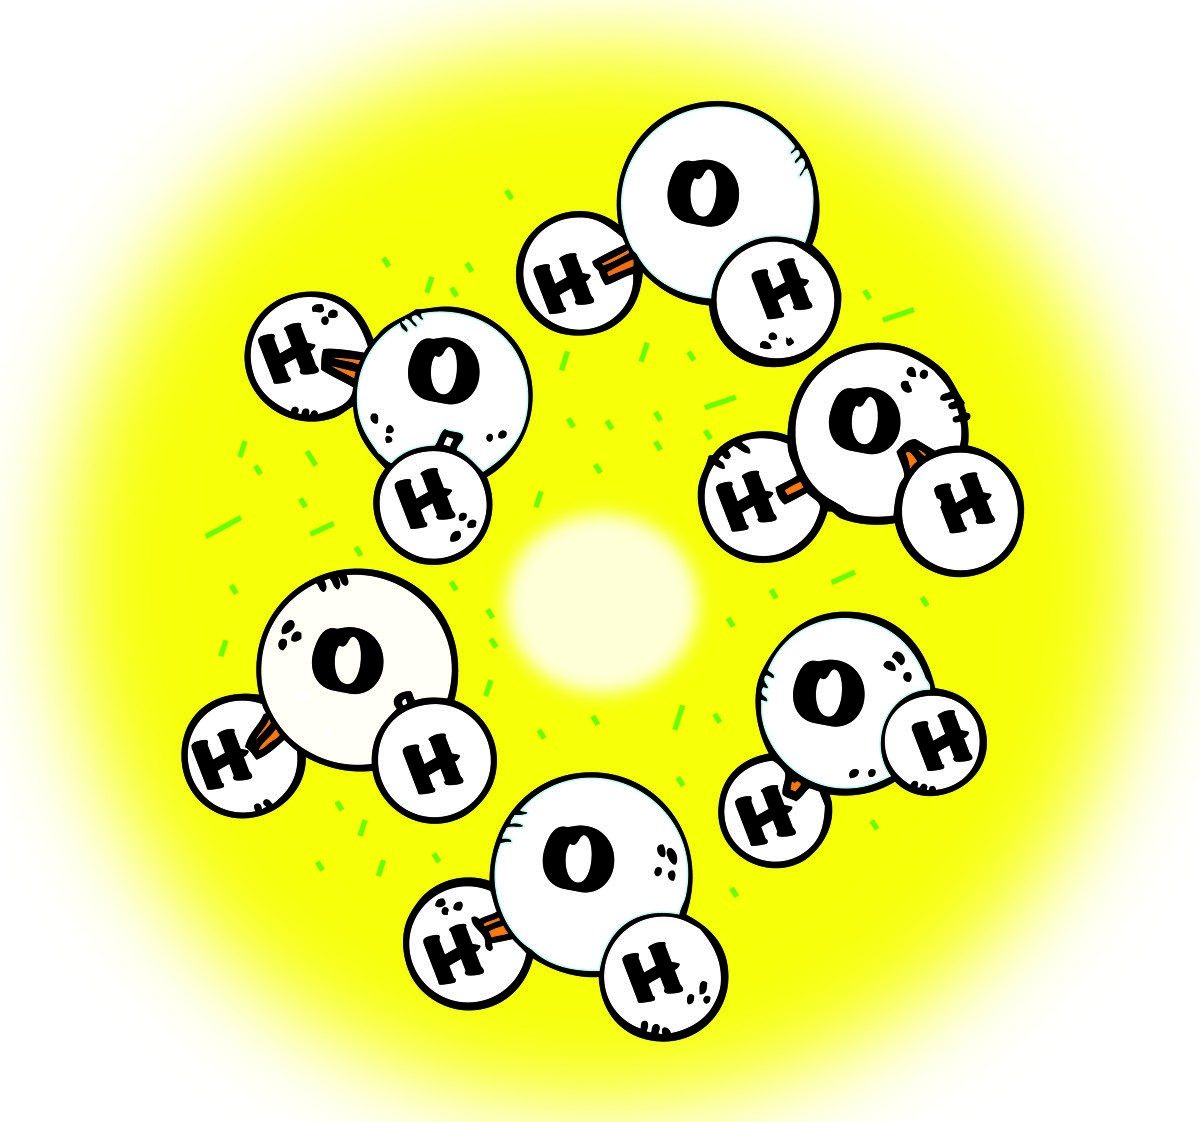
Have each group arrange their water molecules into a six-sided ring of ice. Ask students to handle their models gently because they will need them for other lessons.
- Ice Melts
Have students use their models to represent what happens when ice melts. Point out that the water molecules are closer together than they were as ice. Students could show the water molecules moving past each other.
- Water Evaporates
Have students use their molecules to model what would happen if the water was heated and the molecules evaporated. Students should show the water molecules moving faster and breaking away from the other molecules and entering the air.
- Water Vapor Condenses
Have students use their molecules to model what would happen if water vapor was cooled enough to cause it to condense. Students should show the water molecules in the air slowing down and joining together but still moving past one another as liquid water.
Collect the water molecules. These models will be used again in Chapter 5.
5 Extend
Step 8
Do a demonstration to compare the melting of regular ice and dry ice.
Let students know that dry ice is frozen carbon dioxide gas. Carbon dioxide gas must be very cold in order to become a solid (about –78 °C or –109 °F).
Preparation
You will need some dry ice for this demonstration. If you cannot get any dry ice, show the video Dry Ice.
Question to investigate
Does dry ice melt the way regular ice does?
Materials
- Ice
- Dry ice
- Brown paper towel
- Cold water
- Hot water (about 50 °C)
Procedure
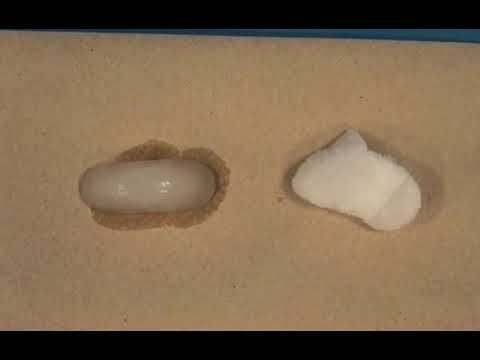
- Place a piece of dry ice and a piece of regular ice on a brown paper towel.
Expected results
In a short amount of time, the ice will begin to melt and the paper towel around the ice will become wet and darker. The paper towel around the dry ice will stay dry and will not get darker. If you notice a small dark spot on the paper towel near the dry ice, it is possible that water vapor from the air condensed on the dry ice and melted onto the paper towel.
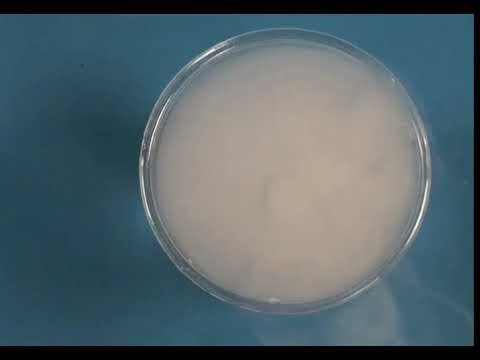
If students see misty white fog coming from the dry ice, let them know that it is not the carbon dioxide gas itself. Carbon dioxide is colorless, odorless, and invisible. The misty smoke or fog is actually water vapor in the air that gets cold enough to condense. The water vapor is cooled by the dry ice and the cold carbon dioxide gas. The fog tends to drift downward because it is carried by the carbon dioxide gas, which is more dense than the air around it.
Step 9
Discuss student observations and introduce the idea that some substances can change directly from a solid to a gas.
Ask students:
- Do regular ice and dry ice melt in the same way?
No. The regular ice changes to a liquid, which you see on the brown paper towel. The dry ice does not seem to change to a liquid.
Explain to students that the reason that the dry ice does not make the paper towel wet is because it does not melt. When energy is transferred to dry ice, the solid carbon dioxide does not melt to liquid carbon dioxide. Instead, the solid changes directly to a gas. This process is called sublimation. Sublimation occurs when molecules of a solid move fast enough to overcome the attractions from other molecules and become a gas. Since frozen carbon dioxide never becomes a liquid under normal pressure, it is called dry ice.
Step 10
Show students what happens when dry ice is placed in water.
Place a piece of dry ice in water or show the video Dry Ice in Water.
Expected results
Bubbles will form and a misty white fog will be produced. Since the water is much warmer than the dry ice, energy is transferred from the water to the dry ice, causing it to change from a solid to a gas and bubble through the water. After detergent is added, a mound of bubbles will form.
Students will be curious about the fog coming out of the cup. Tell them that some water changes to water vapor within the bubbles of carbon dioxide gas and then condenses. This causes fog within the bubbles which escapes when the bubble pops.
Ask students:
- You saw that the dry ice sublimates very quickly in water. What could you do to make dry ice sublimate even faster?
There are several ways to make dry ice sublimate faster. One option is to put the dry ice in hot water.
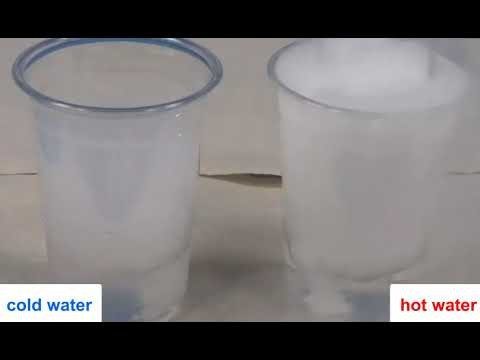
Place a piece of dry ice in 1/4 cup of cold water and another piece in 1/4 cup of hot water. Or show the video Dry Ice in Hot and Cold Water.
Expected results:
Much more fog will be produced from the cup with hot water.
Tell students that more fog is produced when dry ice is placed in hot water because the transfer of energy and sublimation happens much faster. This causes the fog to be produced at a faster rate.
What is the 5-E format?
The 5-E instructional model is an approach to teaching and learning that focuses on active engagement, inquiry-based learning, and collaboration.
Downloads
- Lesson 2.5 Student Activity Sheet PDF | DOCX | Google Doc
For Teachers
- Lesson 2.5 Lesson Plan PDF | DOCX | Google Doc
- Lesson 2.5 Activity Sheet Answers PDF | DOCX | Google Doc
- Lesson 2.5 Teacher Background PDF
Resources for the entire Chapter 2
- Chapter 2 Student Reading PDF | DOCX | Google Doc
- Chapter 2 Test Bank PDF | DOCX | Google Doc
Interactive Lesson Modules
- Lesson 2.5 Online Assignments Google Form
Have Questions? Visit Help Center
